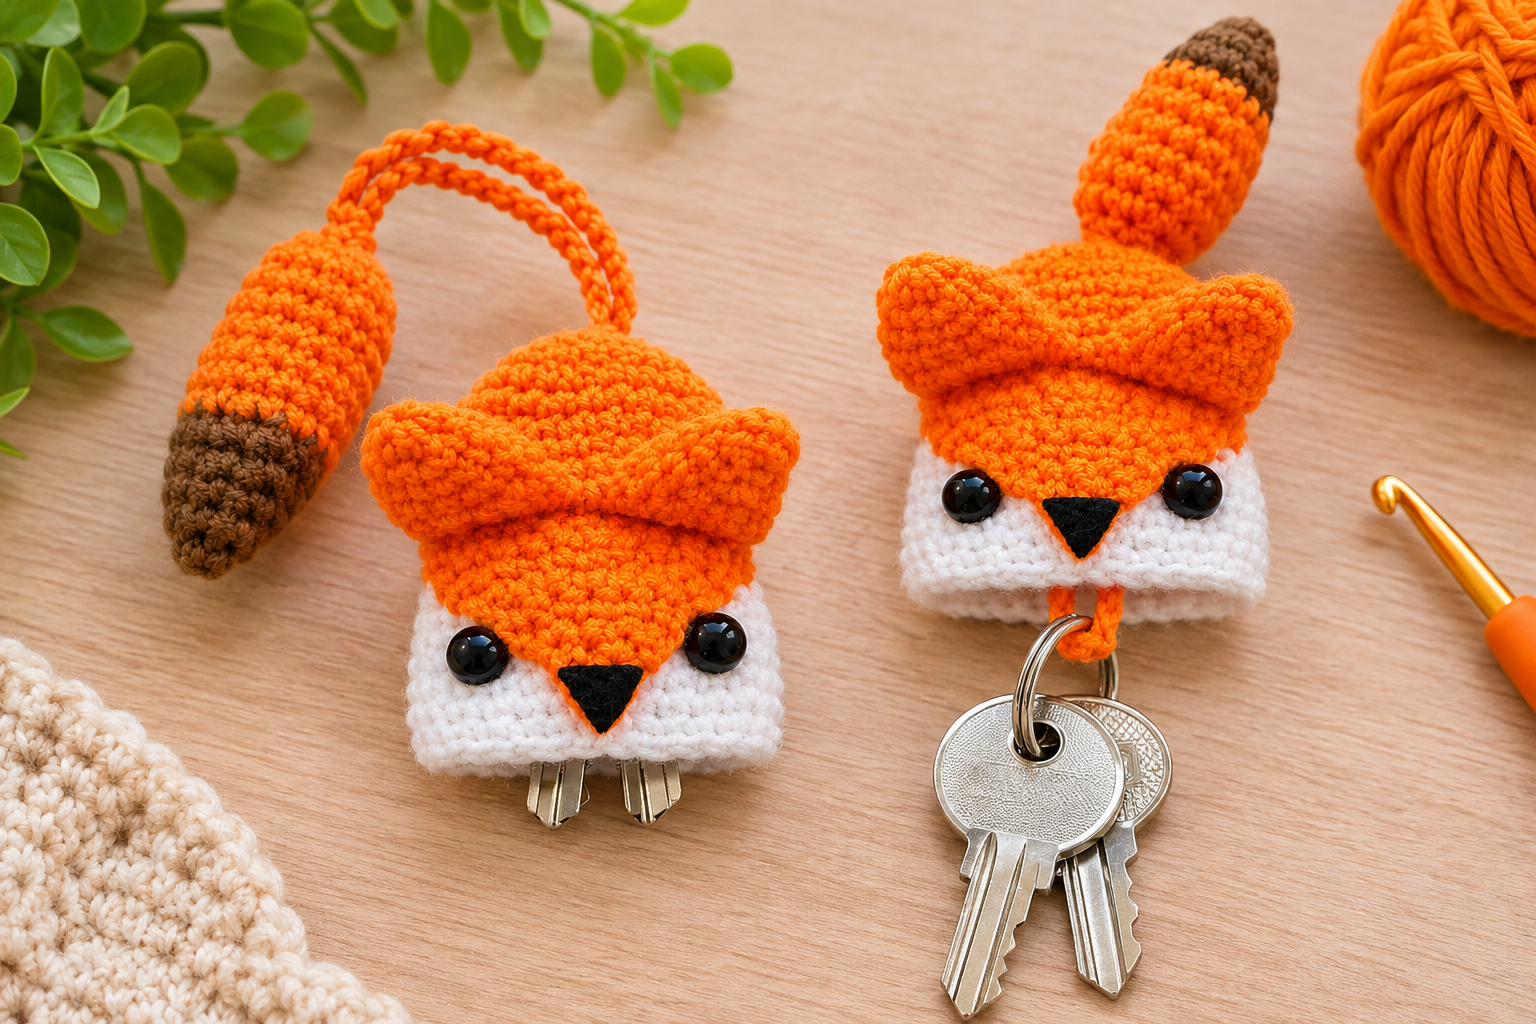
How to Crochet Fox Keychain | DIY Amigurumi Tutorial
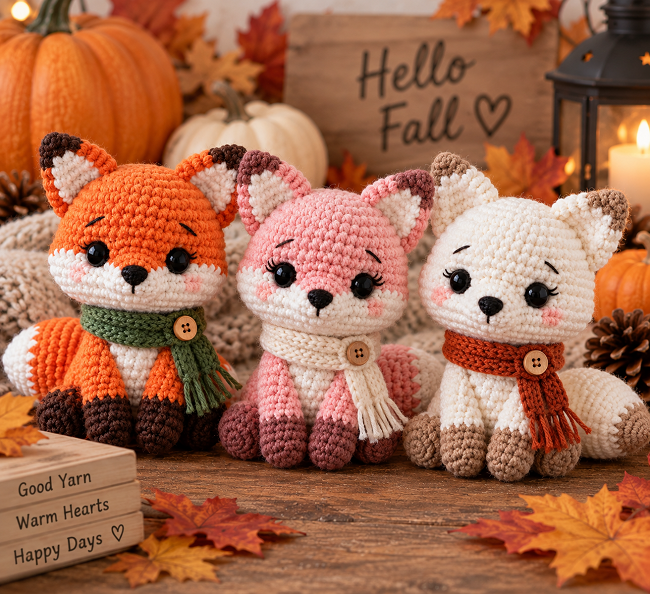
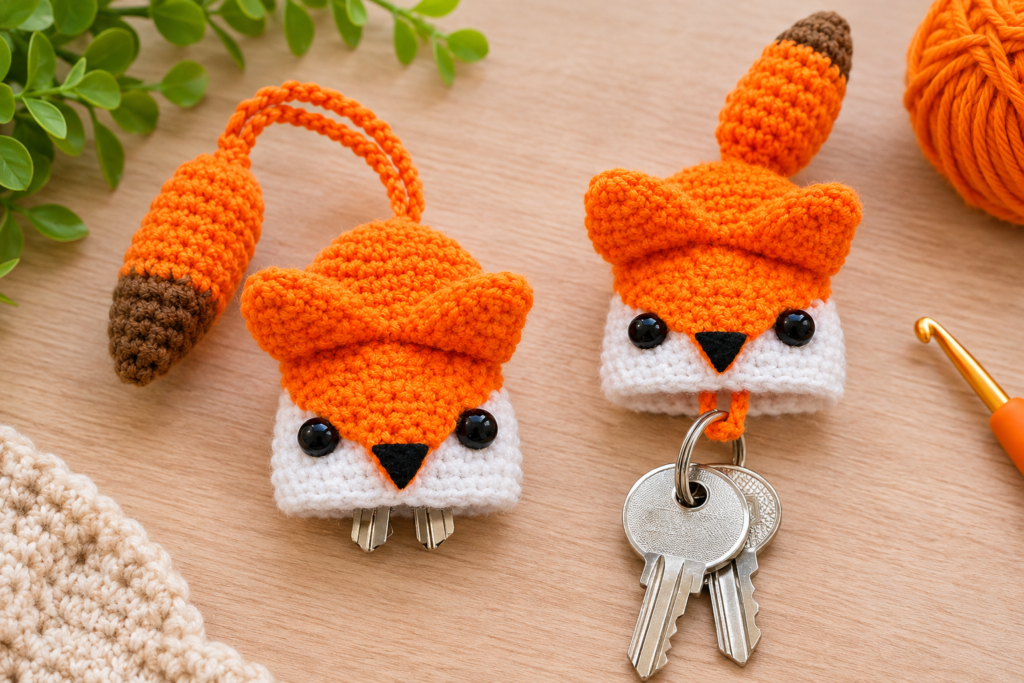
Crochet Fox Keychain—the Japanese art of knitting or crocheting small, stuffed yarn creatures—has taken the crafting world by storm, and for good reason. There is something profoundly satisfying about turning a single strand of yarn into a three-dimensional character. Our feature project, the Fox Key-Cover Keychain, is the perfect marriage of form and function. This whimsical little woodland friend is designed to act as a protective cozy for your house keys, keeping them tucked away in your bag while adding a splash of orange charm to your daily routine.
This project is an exceptional choice for beginners who are eager to graduate from flat swatches to sculptural work. Because it utilizes basic single crochet stitches in the round, it serves as a masterclass in shaping, increasing, and decreasing without the overwhelming complexity of larger dolls. Whether you are looking to build up your inventory for local craft fairs or simply want a quick, rewarding gift for a friend, this fox keychain delivers professional results with minimal time investment.
Beyond its utility, the aesthetic appeal of this fox is undeniable. With its vibrant orange coat, crisp white muzzle, and expressive safety eyes, it carries that ‘kawaii’ quality that makes handmade goods so collectible. You will learn the mechanics of construction from the ground up, starting with the magic ring, moving through consistent increase rounds, and finishing with a clever tail attachment. Let’s dive into the anatomy of this adorable companion and get those hooks moving.
| Project Type | Amigurumi Keychain |
|---|---|
| Skill Level | Easy (Beginner-Friendly) |
| Yarn Weight | Sport or DK Weight |
| Hook Size | 2.5mm / US C-2 |
| Gauge | 7 sc per inch (unstretched) |
| Finished Measurements | 3 inches H x 2.5 inches W |
Materials & Tools Checklist
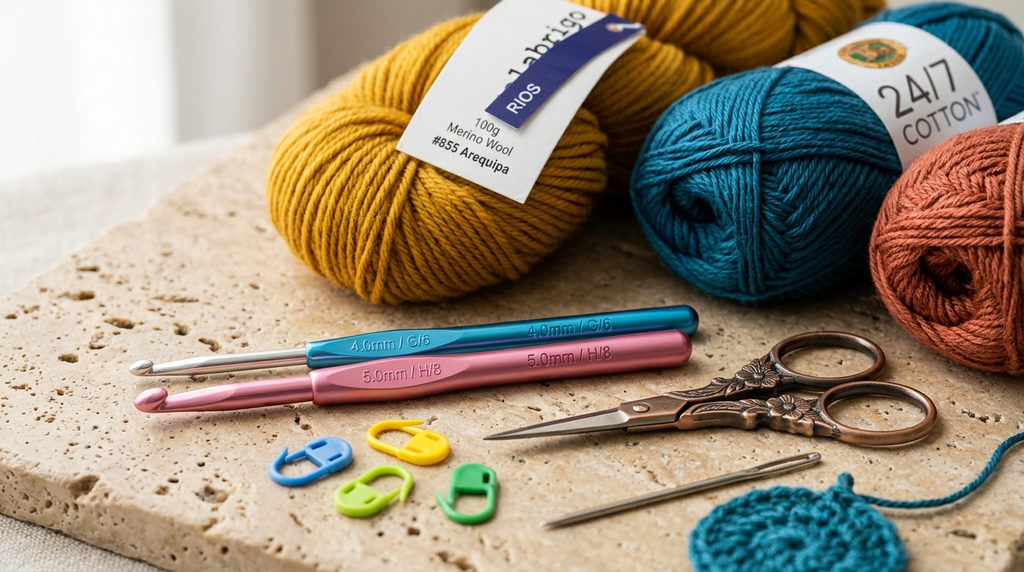
- Orange, White, and Dark Brown sport weight yarn
- 2.5mm crochet hook
- 8mm safety eyes
- Polyester fiberfill stuffing
- Yarn tapestry needle
- Key ring hardware
- Stitch markers
- Small embroidery scissors
Abbreviations & Stitch Guide
Magic Ring (mr): The foundational loop used for circular projects to ensure no hole remains in the center. Wrap yarn around your fingers, pull a loop through, and chain to secure.
Single Crochet (sc): The workhorse of amigurumi. Insert hook into stitch, yarn over, pull through, yarn over, and pull through both loops on hook.
Increase (inc): Work two sc into the same stitch to expand your circle.
Invisible Decrease (dec): Insert hook through the front loops of the next two stitches, yarn over, pull through two loops, yarn over, and pull through remaining two.
Golden Rules & Pattern Notes
Always maintain a tight tension to prevent stuffing from poking through your stitches. Use a ‘yarn under’ technique (the X-stitch) for a more professional, clean appearance. Keep your stitch markers handy at all times, as rounds in spiral crochet can quickly lose their definition if you lose track of your starting point.
Step-by-Step Instructions
Phase 1: Foundation & Starting Ring
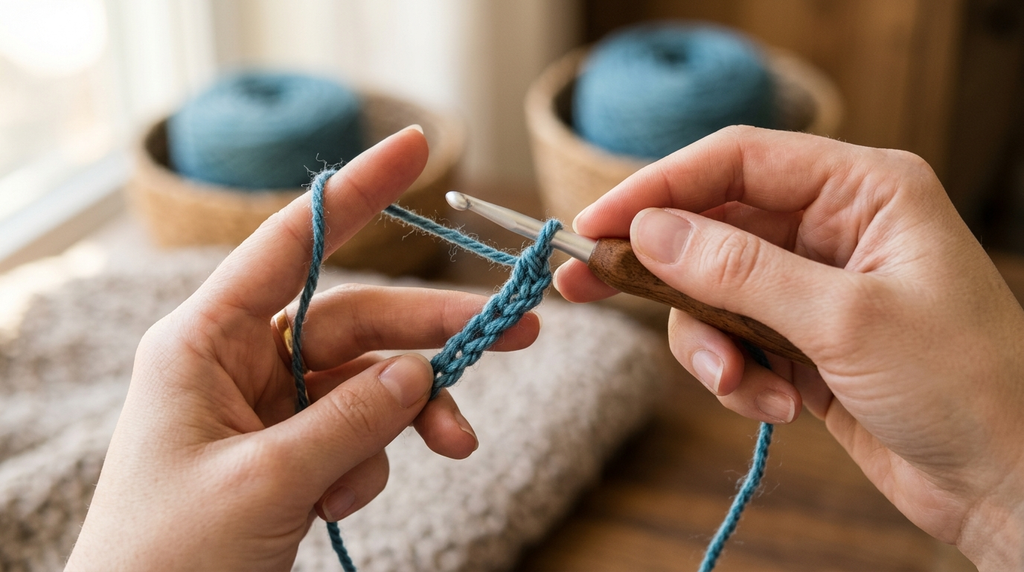
Begin with a Magic Ring in your orange yarn. If the magic ring feels intimidating, you can chain 2 and work 6 sc into the second chain from the hook. This forms the crown of the fox’s head.
Phase 2: Round 1 / Row 1 Base Work
Round 1: 6 sc into the magic ring. (6 sc). Pull the tail of the magic ring to tighten the center completely. Ensure your work remains flat at this stage.
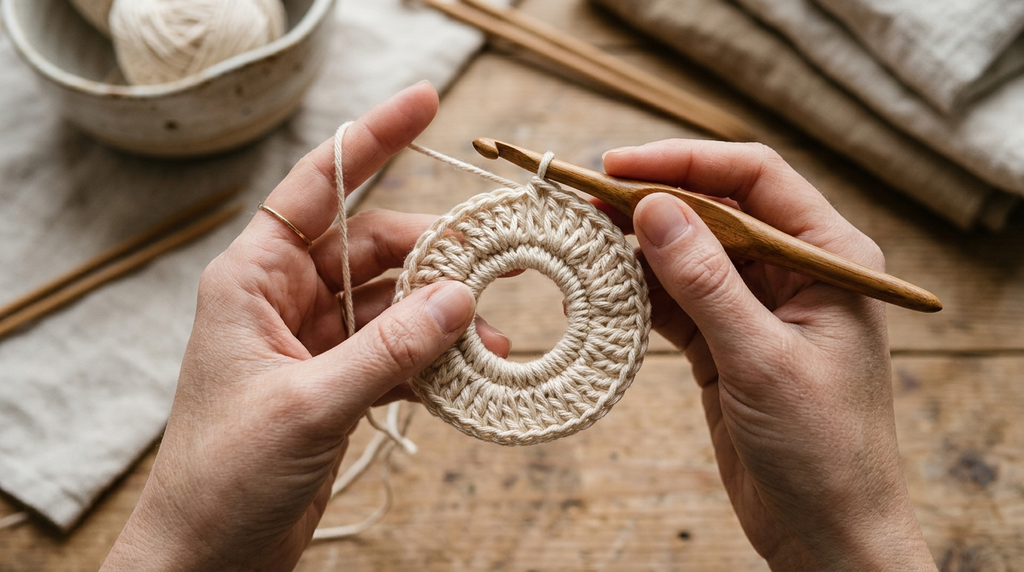
Phase 3: Round 2 / Row 2 Corner Spaces & Expansion
Round 2: Increase in every stitch around. (12 sc). This expansion is essential for creating the sphere-like head of your fox. Use a stitch marker in the first stitch to keep track.
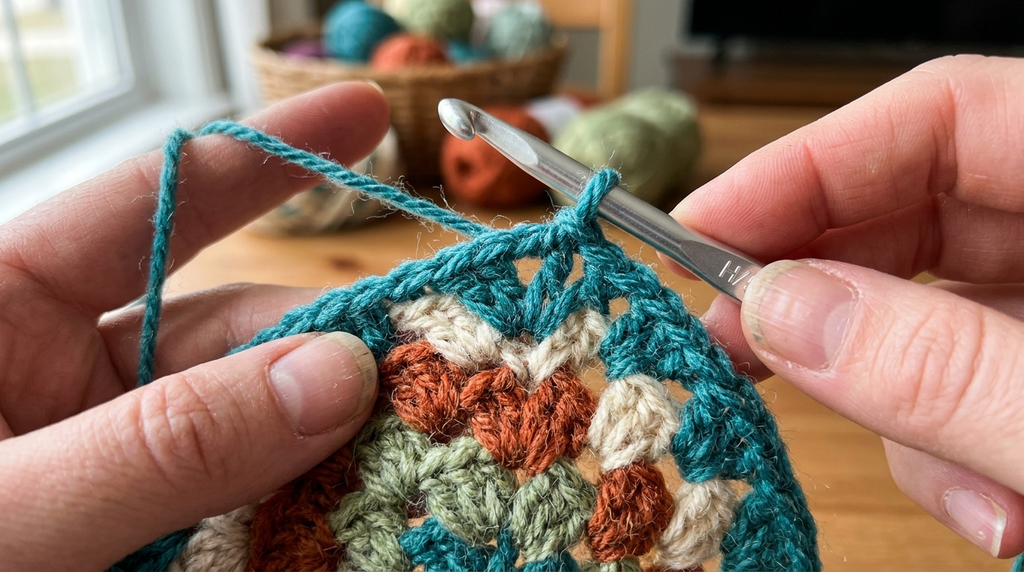
Phase 4: Subsequent Rounds & Growth
Continue increasing in the standard amigurumi progression (1 sc, inc around) until you reach 24 stitches. Work several rounds even to build height. Insert your safety eyes at approximately round 6. Switch to white yarn for the bottom portion to create the muzzle contrast.
Phase 5: Fastening Off & Weaving in Ends
Once you reach the desired length, fasten off leaving a long tail. Use a tapestry needle to sew the edges closed, weaving through the front loops only for a clean, seamless finish.
Professional Blocking
Amigurumi pieces rarely need full wet blocking, but a light steam treatment can help even out the stitches. Simply hold a steamer or steam iron a few inches away from the piece—do not touch it with the iron—and use your fingers to shape it while warm.
Troubleshooting Common Mistakes
- Curling: Often caused by tight tension or an incorrect increase count. Check your stitch count every round.
- Gaps: If you see holes, go down a half-size in your hook.
- Stitch Slippage: If the piece feels loose, ensure you are pulling the yarn snug after every single crochet.
- Yarn Splitting: Ensure you are using a smooth, plied yarn rather than a highly fibrous single-ply, which can fray under tension.
Care and Storage
To clean your fox keychain, spot clean with a mild soap and cold water. Never put your handmade keychain through the washing machine, as the plastic safety eyes and fiberfill may shift or degrade. Hang it on your favorite bag and enjoy your new accessory!