How to Crochet a Granny Square: A Beginner-Friendly Step-by-Step Guide
Granny squares are one of the most useful places to begin if you are learning crochet. The basic shape is simple, the rhythm becomes relaxing after a few rounds, and a single square can grow into a blanket, bag, pillow, cardigan, scarf, or decorative piece. More importantly, granny squares teach several skills at once: making a starting ring, working chain spaces, forming clusters, joining rounds, changing colors, counting stitches, and weaving in ends.
This beginner guide explains the classic granny square in clear steps using US crochet terminology. You do not need advanced experience. If you can make a chain and a double crochet, you can learn this project with patience and a little practice. Keep your first square small, focus on even tension, and remember that handmade stitches do not need to look perfectly identical to be beautiful.

What Is a Granny Square?
A classic granny square is a crocheted motif built from the center outward. Instead of filling every space with individual stitches, the traditional design uses groups of three double crochets called clusters. Chain spaces between the clusters create the open, airy appearance associated with granny crochet.
The beauty of this construction is that the square can be stopped after only a few rounds or continued until it reaches the size you need. You can use one color for a clean, modern look or change colors after every round for a cheerful patchwork effect.
Materials You Need
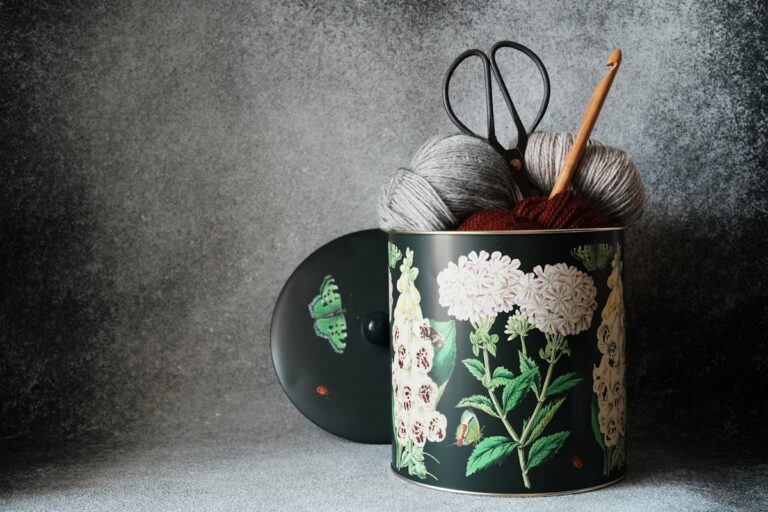
- Medium weight yarn, such as a #4 worsted-weight yarn, is beginner friendly.
- A crochet hook recommended on the yarn label, often around 5 mm for medium yarn.
- Sharp scissors for trimming the yarn.
- A yarn or tapestry needle for weaving in ends.
- A stitch marker if you find it helpful when beginning a round.
For your first attempt, avoid very dark yarn or extremely fuzzy yarn. A smooth, medium-light color makes it easier to see the spaces and identify where your hook should go.
Understanding the Basic Stitches
This tutorial uses a few standard US terms. ch means chain, sl st means slip stitch, and dc means double crochet. A granny cluster is normally three double crochets worked into the same chain space. The corners are made by placing two clusters with a chain space between them.
If your pattern uses UK terminology, check the terms before starting because stitch names differ between US and UK systems. Staying consistent throughout the project prevents many common mistakes.
Step 1: Make the Center
Begin with a magic ring if you are comfortable making one. If not, chain four and join with a slip stitch to form a small ring. Chain three to act as the first double crochet. Work two more double crochets into the center. You now have your first three-stitch cluster.
Chain two to create the first corner. Work three double crochets into the center ring again, chain two, and repeat until you have four clusters. Finish the round by joining with a slip stitch near the top of the beginning chain. Pull the center ring gently closed if you used a magic ring.
Step 2: Build the Second Round
Move your hook to the nearest corner space. Chain three, then work two double crochets into the same corner space. Chain two and work three double crochets into that same corner. This creates the first corner of the next round.
Continue around the square. In every corner space, work three double crochets, chain two, and three more double crochets. When you reach the starting point, join with a slip stitch. You should now see a recognizable square with four corners.
Step 3: Continue Adding Rounds
For the third round and every round after it, corners remain the same: two three-double-crochet clusters separated by two chains. The important difference is that the middle of each side now has a chain-one space between clusters. Work one cluster into each side space and the full corner combination into every corner.
As the square grows, pause occasionally and lay it flat. A healthy square should generally keep four clear corners and relatively straight sides. If it begins to curl, your tension may be too tight or your hook may be too small. If it becomes wavy, your tension may be too loose or your hook may be too large.
How to Change Colors
Color changes are one of the easiest ways to make granny squares look completely different. To change colors neatly, finish the final stitch of the round and join as usual, then fasten off the old color. Start the next round in a corner with your new yarn. Weave both tails through the back of the square when you are finished.
For a coordinated project, choose one neutral shade plus two or three accent colors. Cream, sage, dusty blue, warm mustard, terracotta, and soft pink work especially well together. You can also use one variegated yarn with a solid border for a more controlled design.
How to Keep Your Square Flat
Even tension is more important than speed. Try to hold the yarn with a relaxed grip and avoid pulling every stitch tightly against the hook. If your square is too stiff, go up half a hook size. If it is too loose and floppy, try a slightly smaller hook.
Blocking can also improve the finished shape. Lightly dampen the square, gently arrange it into a true square, and allow it to dry completely. For acrylic yarn, avoid high heat unless the yarn manufacturer specifically recommends it.
Common Beginner Mistakes
One common problem is accidentally working into a stitch instead of a chain space. Granny crochet depends heavily on spaces, so count the clusters rather than trying to count every individual stitch. Another mistake is forgetting a corner, which causes the motif to bend into an unusual shape. After each round, count four corner sections.
Loose center rings can also make the middle look messy. If you use a magic ring, pull it closed firmly but not so hard that the stitches distort. Finally, do not worry if the first square is imperfect. Making a second square immediately often improves your tension dramatically.
Ideas for Using Granny Squares
Once you have a few squares, the possibilities become much bigger. Sew or crochet squares together to create blankets, tote bags, cushion covers, table runners, scarves, bucket hats, and even garments. Smaller motifs can become coasters, ornaments, keychains, or decorative patches.
For a modern project, use the same color order in every square and join them with a single neutral shade. For a playful vintage style, let every square use a different combination while keeping one border color consistent.
Final Tips for Your First Project
Work slowly enough to identify the spaces, keep your hook size consistent, and check the shape after every round. If you make a mistake, unraveling a few stitches is part of learning, not a failure. Keep a small notebook with your yarn color names, hook size, and number of rounds so you can reproduce a favorite square later.
Most importantly, enjoy the process. Crochet becomes much easier when your hands begin to remember the rhythm. A granny square may look simple, but it teaches a foundation of skills that can carry into hundreds of future crochet projects.
Conclusion
A classic granny square is an ideal first crochet project because it is repetitive, customizable, and useful.
A Few More Tips Before You Begin
When you are learning, it helps to create a small routine before every crochet session. Put your yarn, hook, scissors, and pattern in one place. Read the next round completely before making the first stitch. This simple habit reduces the temptation to stop halfway through a sentence and wonder where you are. If you lose your place, use a stitch marker or a small scrap of contrasting yarn to identify the beginning of the round.
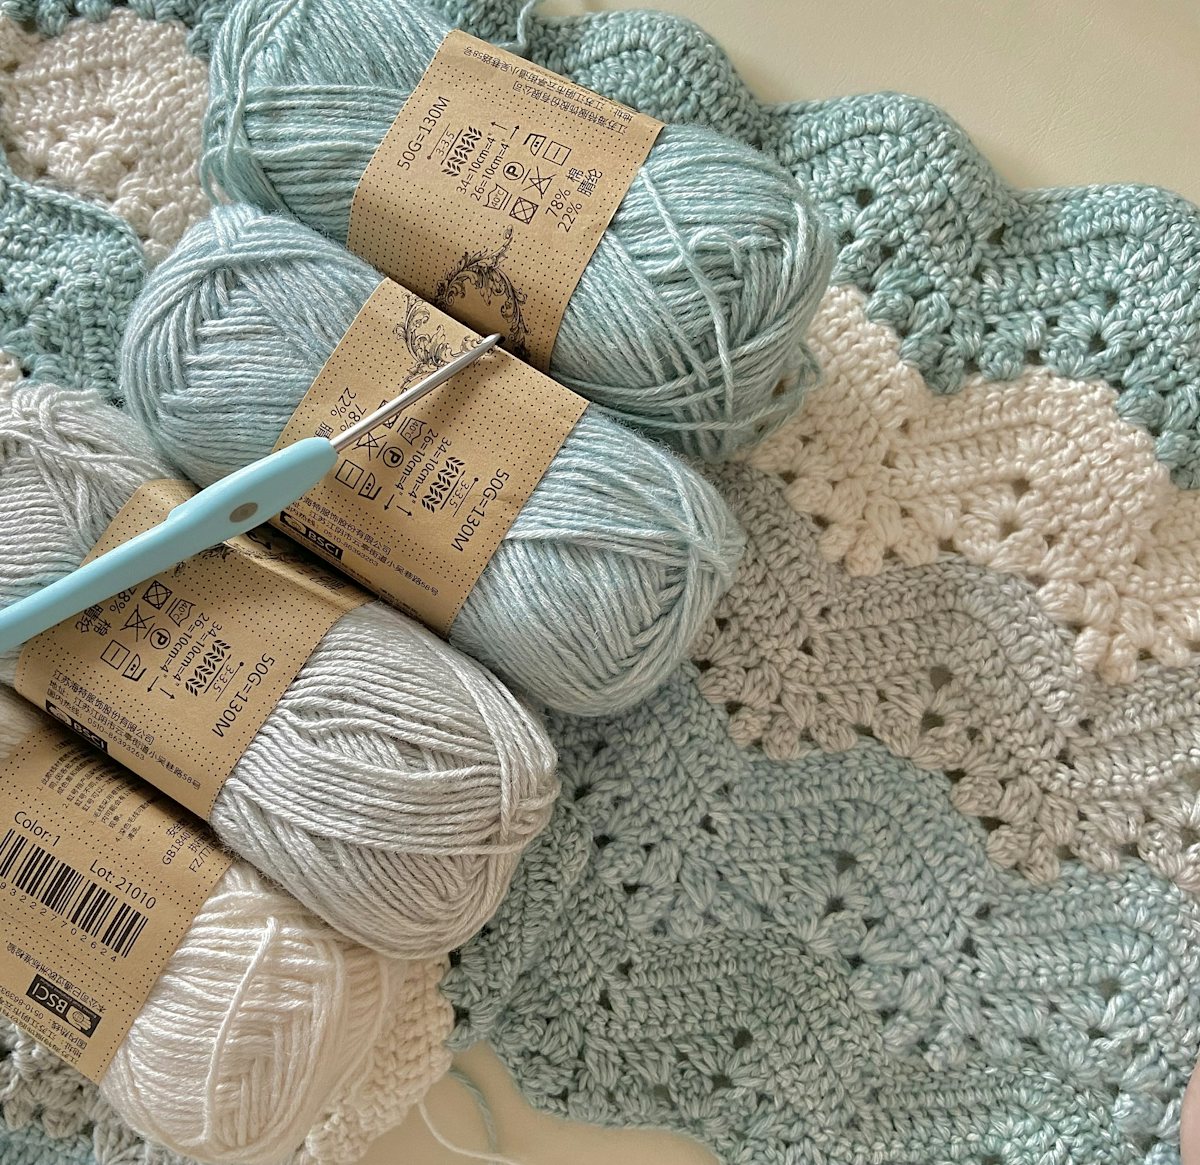
Another useful habit is photographing your progress. A quick picture after each color change can help you remember the order of your rounds when you return to the project later. Keep the yarn labels with your project too. The label records the fiber, color name, weight, and care instructions, which is valuable if you want to make matching squares in the future.
If you plan to make a blanket, decide on the finished size before making dozens of squares. Make one sample square, wash and block it if appropriate, and measure it afterward. This gives you a better idea of how many motifs you will need. You can then test your joining method on a few squares before completing the whole collection.
Do not be afraid to unravel. Crochet is unusual because mistakes can often be corrected without throwing away the entire project. If a corner looks wrong, stop, identify the last correct round, and undo only what is necessary. Each correction teaches you how the stitch structure works.
Finally, remember that your first handmade piece is allowed to look handmade. Slight differences in tension and color placement are part of the character of crochet. With every square, your hands become more confident, your counting becomes easier, and your stitches become more consistent.
Start with one small square, practice the corner structure, and add rounds until you feel comfortable. Once your tension becomes more even, experiment with color combinations and different yarn weights. Before long, those individual squares can become a handmade project that is both practical and personal.